


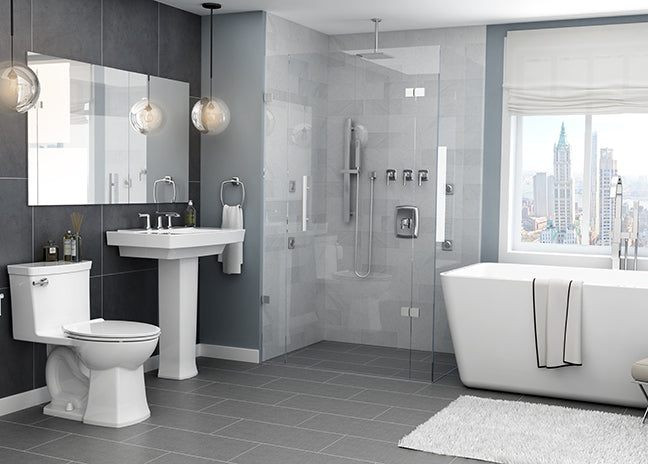


Toolaholic’s step-by-step guide to demolishing your bathroom

Bathroom demolition’s can often be daunting, but what most people don’t realize is that they’re often more than capable of doing it themselves! Believe it or not, most homeowners can accomplish the bathroom renovation of their dreams by using simple tools that they probably already own. I’m here to walk you through the steps necessary when approaching your first bathroom demolition. Let’s get right into it!

Before starting off any bathroom demolition, it’s important to first focus on the potential damage that can be done to surrounding areas. So, I make sure to start each and every job with site dust protection, along with floor protection leading from the bathroom door right to the entrance of the home. Unsure how to properly protect? Use a lightweight plastic sheet and low adhesion painters tape to mask off areas around the bathroom door where you don’t want dust to travel beyond! For floor protection, you can use a number of commercially available products like hammer stop, or ram board, or even keep it simple with some cardboard sheets. Take the time to also seal off the floor register (ducting) by taping it closed or stuffing it with paper, as you want to prevent debris from potentially falling in.

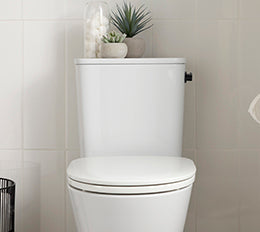
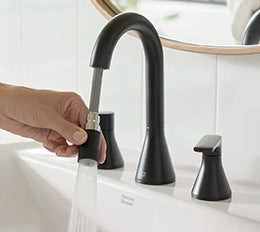
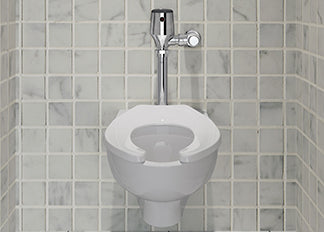
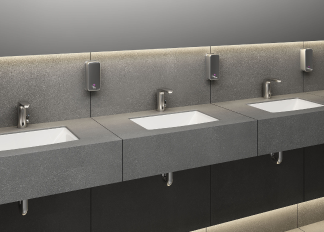
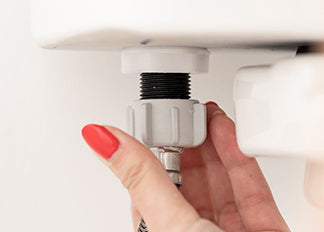
Once protection is in place, you can start by removing fixtures and accessories. I always pull down mirrors, towel bars, toilet paper holders, shelving, cabinetry, vanities, and any other accessory items that will be changed first. Remove your vanity/sink by shutting off the supply lines, and disconnecting the trap. You can then pour that water directly into the toilet. To disconnect a toilet, first shut off the supply line, then flush it one last time to remove water from the tank. You will be left with a partial bowl of water, which you can then plunge to get rid of. To prevent spilling as you remove it, there are commercially available gelling additives that solidify the water, eliminating the mess during transportation.

Next, if you are removing baseboards and door/window casing make sure to use a sharp utility knife to score the seam where they meet the wall, as this will prevent the paint from peeling away, exposing raw drywall paper. You can then use a flat bar to pry wood trim away, making sure to remove all stray fasteners.
For tile, I find that the majority of homes have a scratch coat underlay, which is a mesh and mortar base coat under the tile. To remove this, you can either smash up the tile with a hammer and then peel up the mesh with a pry bar, or if you have access to a grinder with a diamond wheel, you can cut the groutlines through the mesh, lightly scoring the subfloor. The goal here is to divide the tiled area up into manageable squares, which can then be pried up using a roofing spade or flat shovel/pry bar. This is by far the cleanest and quickest method, however it can create dust during cutting. Therefore, I recommend the use of a quality extractor (vacuum) to collect dust during the cutting process.
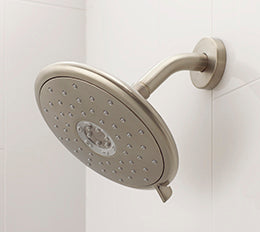
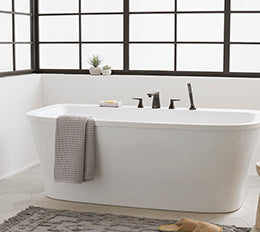
Let’s move onto the shower. For shower walls, I find it faster to try and pull the wall backer board and tile down as one unit. Smashing the tile works as well, but creates more small pieces that you will then have to worry about cleaning up. You’ll need to remove the wallboard first before attempting to remove the tub. The board is installed over the tub and traps the lip. Under the board you will usually find screws or clamps along the edge of the tub which secure it to the wall. To remove the tub drain, you need to use a needle nose plier or tub drain wrench to unscrew the drain, freeing the tub.
Once the tile is up, you want to take your time and remove all bits of stray thinset and staples on the subfloor. I recommend the use of a concrete grinder, but if you don’t have access to one, you can also scrape the subfloor with a stiff scraper.
Well, there you have it! This should summarize the demolition process! Once you clean up all of your debris, you are ready to start prep work for wall and floor tile installs. Goodluck and have fun! And thank you, American Standard for all that you do. Best, Kiefer aka Toolaholic
Kiefer Limeback is an expert contractor and tool reviewer based in Toronto, Ontario. With a self-proclaimed tool addiction coupled with a passion for construction and remodeling, Kiefer is widely known in the industry as the Toolaholic.
Check out his latest projects here.
Learn More from American Standard
 LIFE.LOVE.HOME
Create An Account
*Required Fields
 Setting The Standard
RESET YOUR PASSWORD
Enter your email address and we'll send you an email with a link to reset your password.
 ELEGANCE ENGINEERED TO ENDURE
